How to play Win95 Games on macOS Catalina and Big Sur with DOSBox-X Emulator
A tutorial for running Windows 95 on macOS
![]() By: GN Team
By: GN Team
Published: 28 November 2020, 7:33 am
As you know, we were using Wine to make old Windows 95 games playable on macOS. Many users have appreciated our wrappers for Hercules, Civilization II, Blood Omen, and several other games. The problem is, Apple removed support for 32-bit apps starting from macOS Catalina, so these wrappers don't work anymore if your OS is up-to-date.
Since Wine is no longer a solution, we started experimenting with other wrappers/emulators some time ago. Today, finally, we got one that is working! The new wrapper uses DOSBox-X, an enhanced version of DOSBox that can emulate the environment required to run not just DOS programs but also Windows 95 and 98. You can take DOSBox-X, you can install Windows 95 on a disk image, then the game you want to play (plus Direct-X and the required drivers), and that's it. In theory, it's not different from what we have already done for some Windows 3.1 games such as Castle of The Winds.
But in this case, configuring everything was a bit longer. If you want to see it in action, get the new Mac wrapper for Hercules. Let us know your feedback.
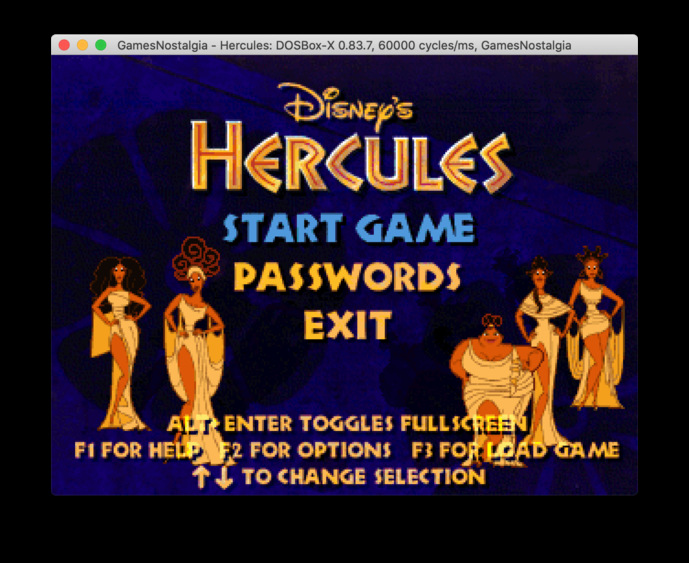
Consider that the wrapper might be unstable. In particular, switching to full screen and back can crash the computer. If you launch the game, you play, and at the end, you shut down Windows 95, it should work smoothly.
We will probably configure other ready-to-play wrappers, but it would be better if you create your own wrapper, because you can create just one Windows 95 installation with all the games that you want. If you have minimal knowledge of using the Mac terminal and a command-line interface, it will be easy. Just consider that it will take some time.
How to configure DOSBox-X on macOS with Windows 95
First, open this wiki page about how to install Windows 95 on DOSBox-X. It will be your primary reference. Below you will find a recap, with some suggestions and tips, specifically for mac.
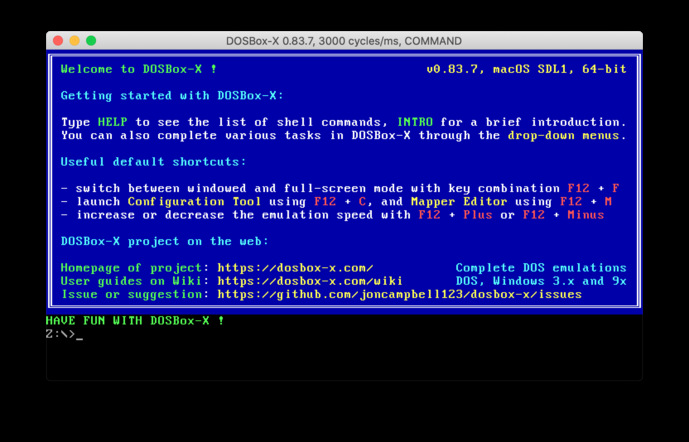
1) Download DOSBox-X for macOS from the DOSBox-X home page. Unzip it into a folder, such as "OldGames". Use the normal one (not the SDL2).
Try to double click the emulator icon. If you receive an error because the file was downloaded from the internet, right-click the icon and select "Open". After you are sure that DOSBox-X starts, close it, you will launch it again later.
2) Find an ISO of Windows95 CD and a serial key. If you have an old Win95 CD, you can create an ISO with the Disk Utility on Mac. Just use File -> New Image and select Encryption=none and Image Format=CD/DVD Master. Disk Utility will create a .cdr file, but you can rename it Win95.iso.
3) Create a file called "win95-setup.conf" and save it in OldGames; you can copy the text here. The wiki page will tell you to use core=normal for stability reasons, but the games may be slow. If this is the case, you can change it into core=auto later. It's also better to add output=opengl in the sdl section, if you have Big Sur.
Also, the official guide will tell you to use win95.conf, but I think it's easier if you use 2 different files: one called win95.conf and one called win95-setup.conf.
4) Launch DOSBox-X from inside the folder OldGames, using the command line. Since you are on a mac, you will have to launch the executable file like this:
./dosbox-x.app/Contents/MacOS/DosBox -conf win95-setup.conf
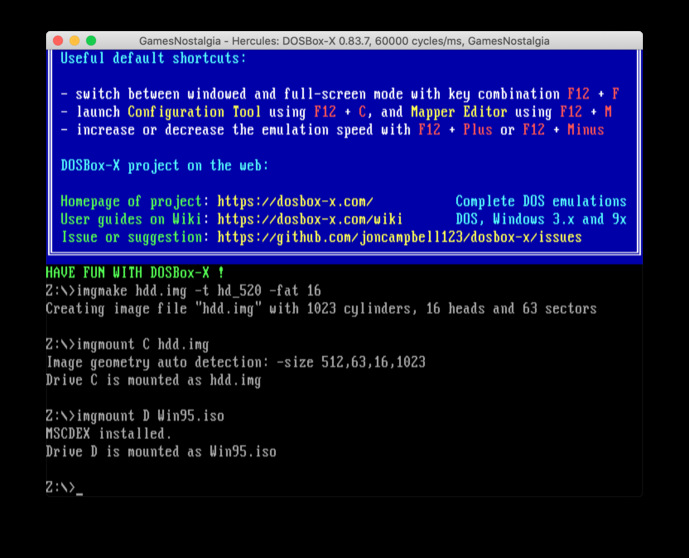
4) Create a disk image as described in the guide. Remember, this command must be inserted in the DOSBox console, not the Mac terminal. The guide suggests you to create a 2Gig image, but you can make it smaller if you prefer. For our test, we made a 500MB image with this command:
IMGMAKE hdd.img -t hd_520 -fat 16
5) Mount the image and the iso with :
IMGMOUNT C hdd.img
IMGMOUNT D Win95.iso
6) Copy all the files of the CD inside the C disk:
XCOPY D:\WIN95 C:\WIN95 /I /E
7) Then run the installation with:
C:
CD WIN95
SETUP
Remember that you will be asked to enter a serial key, so prepare it. If the mouse arrow doesn't move, select Main->Capture Mouse in the menu, or use Ctrl+F10. You can choose Typical installation, or you can try a custom one if you want to remove something. It will take a while. You can activate the Turbo mode of DOSBox-X to speed up things.
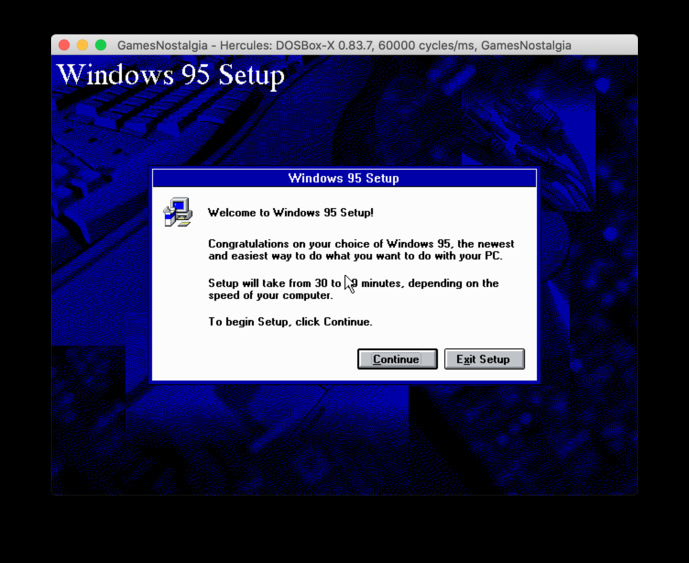
While Windows does its stuff, you can go and have a coffe.
When the installation is finished, and you are back to the DOSBox prompt, type EXIT to close it.
8) Make a copy of the configuration file win95-setup.conf and call it win95.conf. Then edit win95.conf and add the following lines:
[autoexec]
IMGMOUNT C hdd.img
BOOT C:
9) Now try to rerun DOSBox-X, using this command:
./dosbox-x.app/Contents/MacOS/DosBox -conf win95.conf
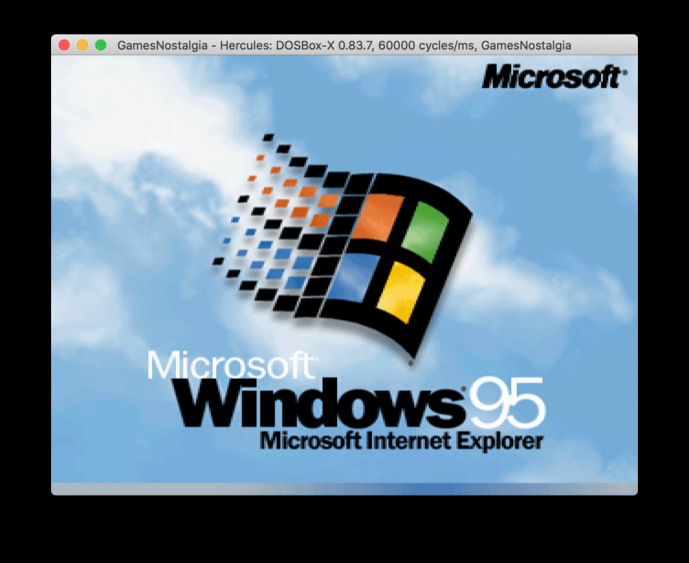
If everything worked, Windows 95 should start. Congratulations!
How to install Windows95 games on your Win95 DOSBox-X wrapper
Ok, now you have your Windows95 installed, but unless you want to play with the calculator, that's not enough. Remember that you cannot just drag and drop the games into the Windows 95 window (that would be nice, actually).
To transfer your games to this new Windows 95 installation, you will need an additional step.
Let's say you have the original CD of the game, for example, Disney's Hercules.1) As you did for the Windows95 CD image, create an ISO for the game CD-DROM, eg. hercules.iso.
2) Edit win95.conf to add this line before the BOOT command:
IMGMOUNT D hercules.iso
./dosbox-x.app/Contents/MacOS/DosBox -conf win95.conf
3) Your Windows95 will see the Hercules CD in drive D. You can install and play the game as you would do on a normal computer. Easy!
If the game is not on CD:1) Copy the folder of the game inside OldGames. For example in "OldGames/Disk/Hercules"
2) Run DOSBox-X with the "setup" config, so that Windows 95 does not start automatically:
./dosbox-x.app/Contents/MacOS/DosBox -conf win95-setup.conf
3) Mount the image and the new folder:
IMGMOUNT C hdd.img
MOUNT D Disk
4) Copy the game to the win95 image:
XCOPY D:\Hercules C:\Hercules /I /E
6) Launch DOSBox-X again but with the normal config ("win95.conf"). Windows95 will boot, and you will have the game in the drive C.
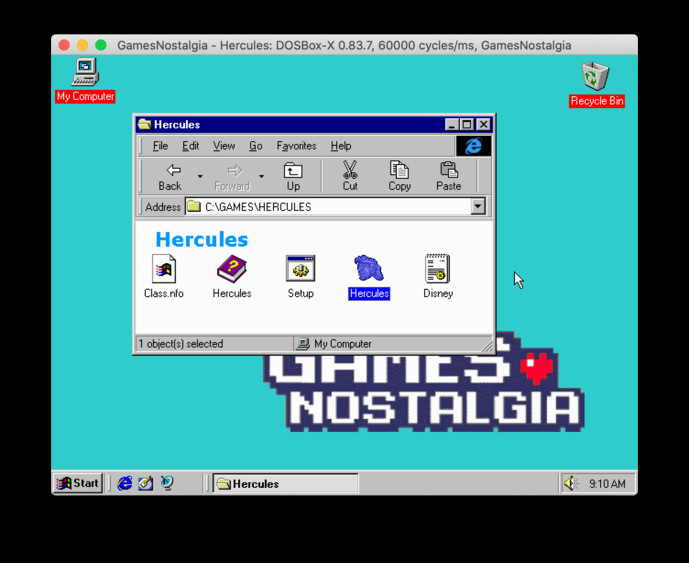
Use the same technique if you want to install other software on your Windows95, for example, an updated DirectX, or other drivers.
I hope this guide has been useful. Have fun!
